
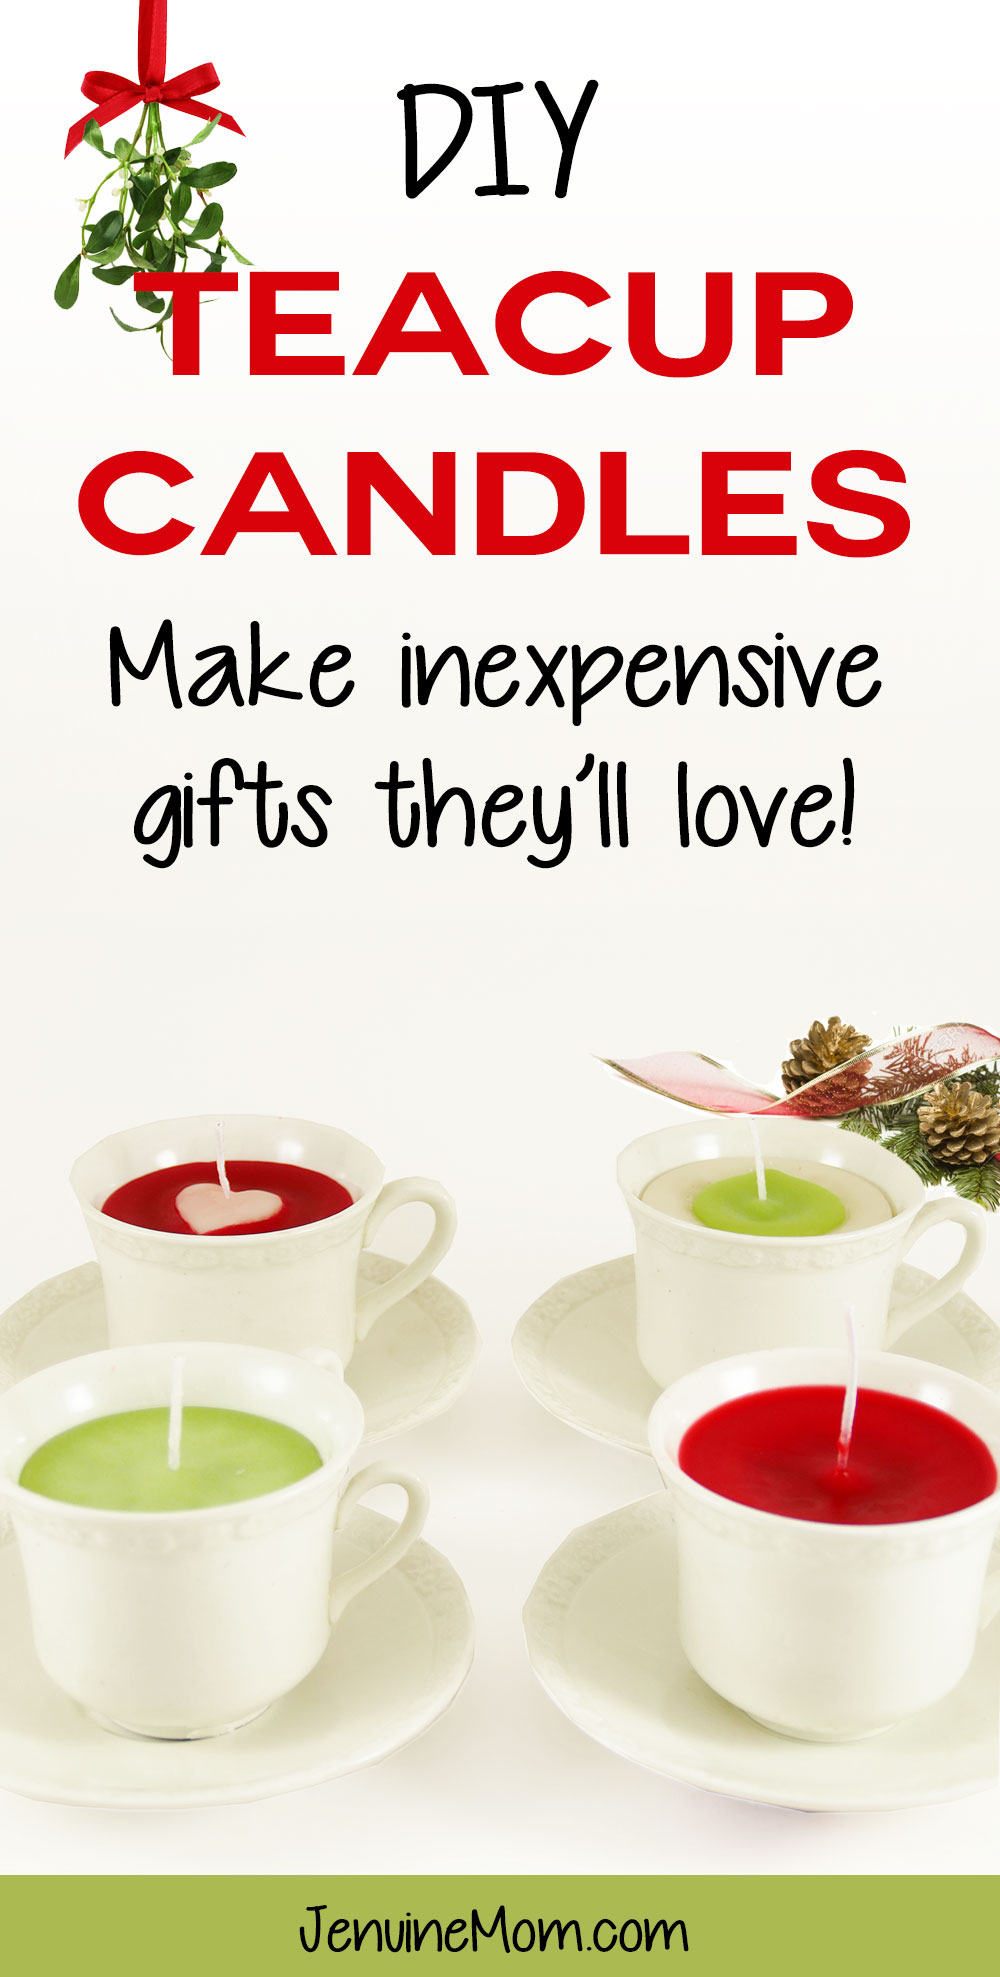
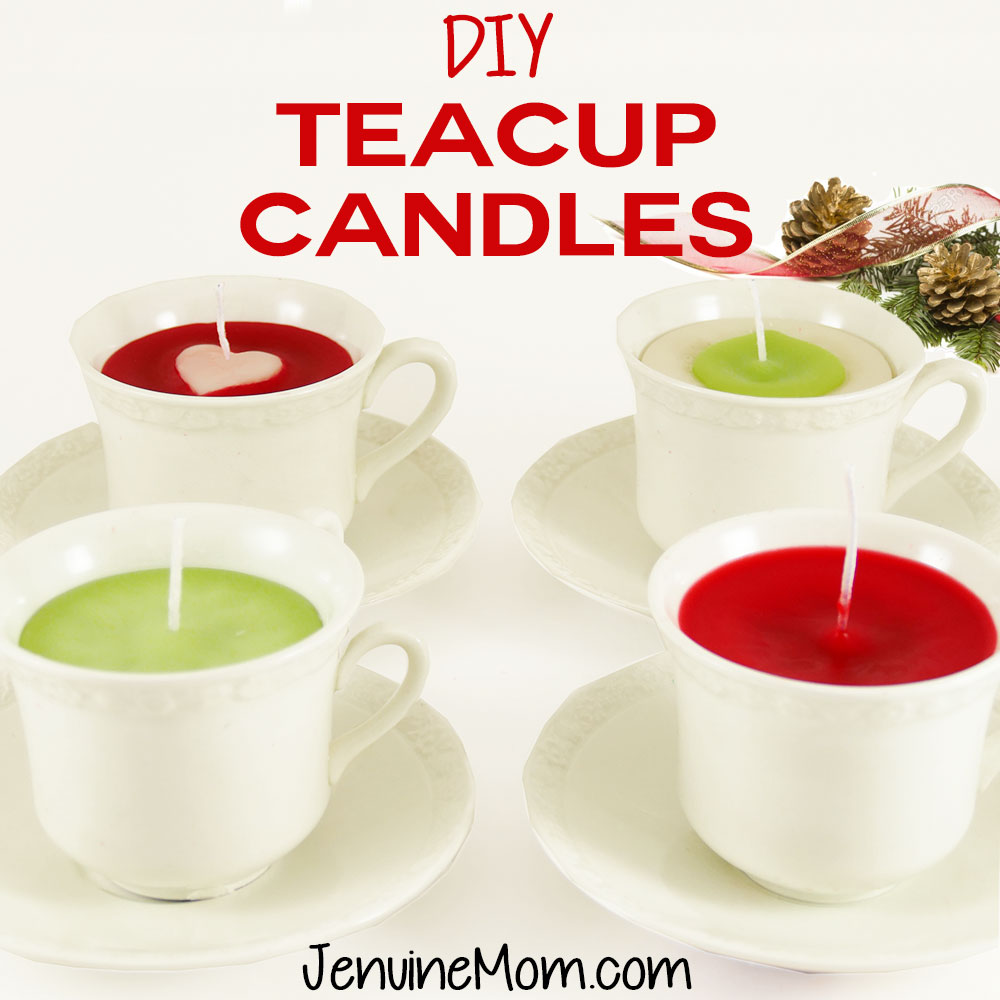
Christmas will be here before we know it! So I’m beginning a blog series on inexpensive Christmas gifts you can create yourself easily. Today’s gift craft tutorial is homemade DIY teacup candles made with recycled wax and wicks. Both the vintage teacups and the candles themselves come from the thrift store, costing me just 75 cents per teacup candle. This is an easy project you can do it a short afternoon at home. And they look so charming, don’t you think? I know I would love to receive this as a gift! Candles are ALWAYS welcome at my home.
Materials for DIY Teacup Candles
(Some of the linked items below are Amazon affiliate links for your convenience. I heart Amazon!)
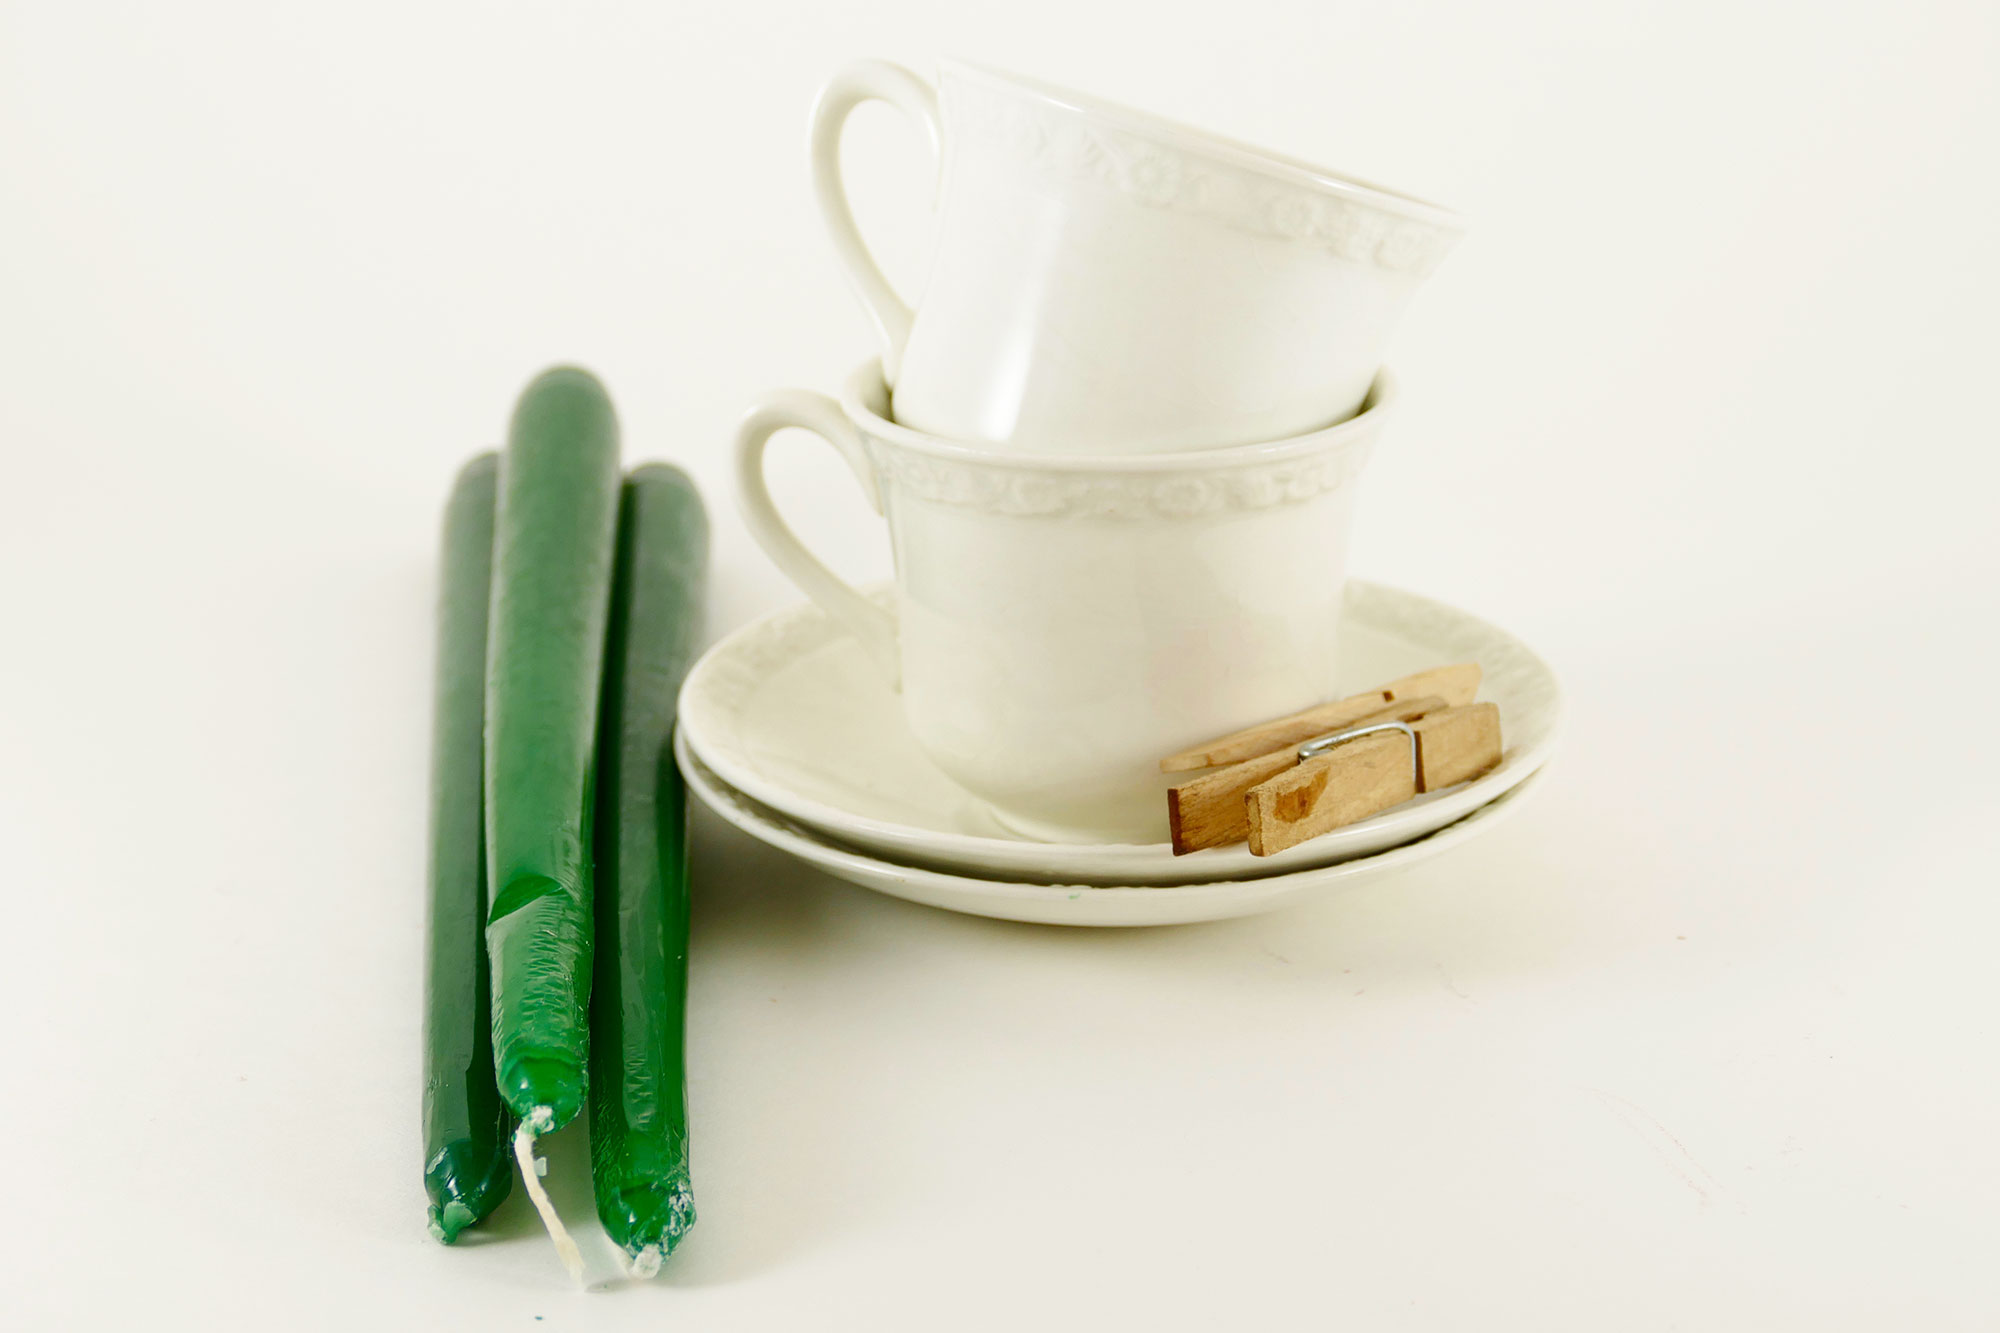
- Old and/or vintage teacups with saucers
- Old candles in similar colors and types* (or buy soy wax flakes + wicks + candle dye + candle scent — or this candlemaking kit)
- Double Boiler (make a DIY double boiler or buy one here)
- Clothespins or kabob skewer sticks
- Thermometer (only needed if adding scent)
* A Word About Candle Wax:
The great thing about re-using old candles for DIY teacup candles is you won’t need to buy wicks, dye, or scent (unless you want to change or enhance the scent of the old candles). This is because you can rescue the wicks from the old candles and re-use them! This is a BIG money saver. But most old candles will be paraffin wax, and while recycling is always good, paraffin isn’t the eco-friendly choice. If you prefer, you can get soy wax flakes which do not smoke when burned. I also really recommend beeswax, because it gives off a lovely, sweet smell when you burn your candle.
If you do re-use and upcycle old candles, be sure get similar colors and similar types. You don’t want to mix paraffin wax with beeswax or soy wax. If you’re not sure what type of wax is in a particular candle, rest assured it’s likely any old candle you find in a thrift store is paraffin (soy wax only became a thing in 1991). Beeswax tends to be yellow and smell a bit like honey. Soy wax tends to be softer than paraffin wax, as it has a lower melting point.
How much wax per teacup? Each teacup uses about two candlesticks of wax! If you buy soy flakes, you’ll need .25 lbs. (125 grams) per teacup. If you’re not sure how much your wax weighs, keep this rule in mind — you will use about twice as much wax as what fills your cup before the wax is melted.
Where to Find Teacups and Old Candles
 I found both old teacups with saucers and old candles at my local thrift store. The teacups were 50 cents and the candles were four for $1. I got lucky and found Wedgwood teacups! I chose an all-white teacup pattern because I thought it would work better for a Christmas theme, but the lovely vintage pastels with gold rims are lovely too. Thrift stores are definitely the best place for vintage tea cups. If you have no good thrift stores near you, check eBay — I just checked and see lots of old teacups for as low as $1 each. Another good place to check for old teacups and candles are garage sales and yard sales! You can also find vintage teacups on Etsy, but the prices are not as low.
DIY Teacup Candles Step-by-Step Tutorial
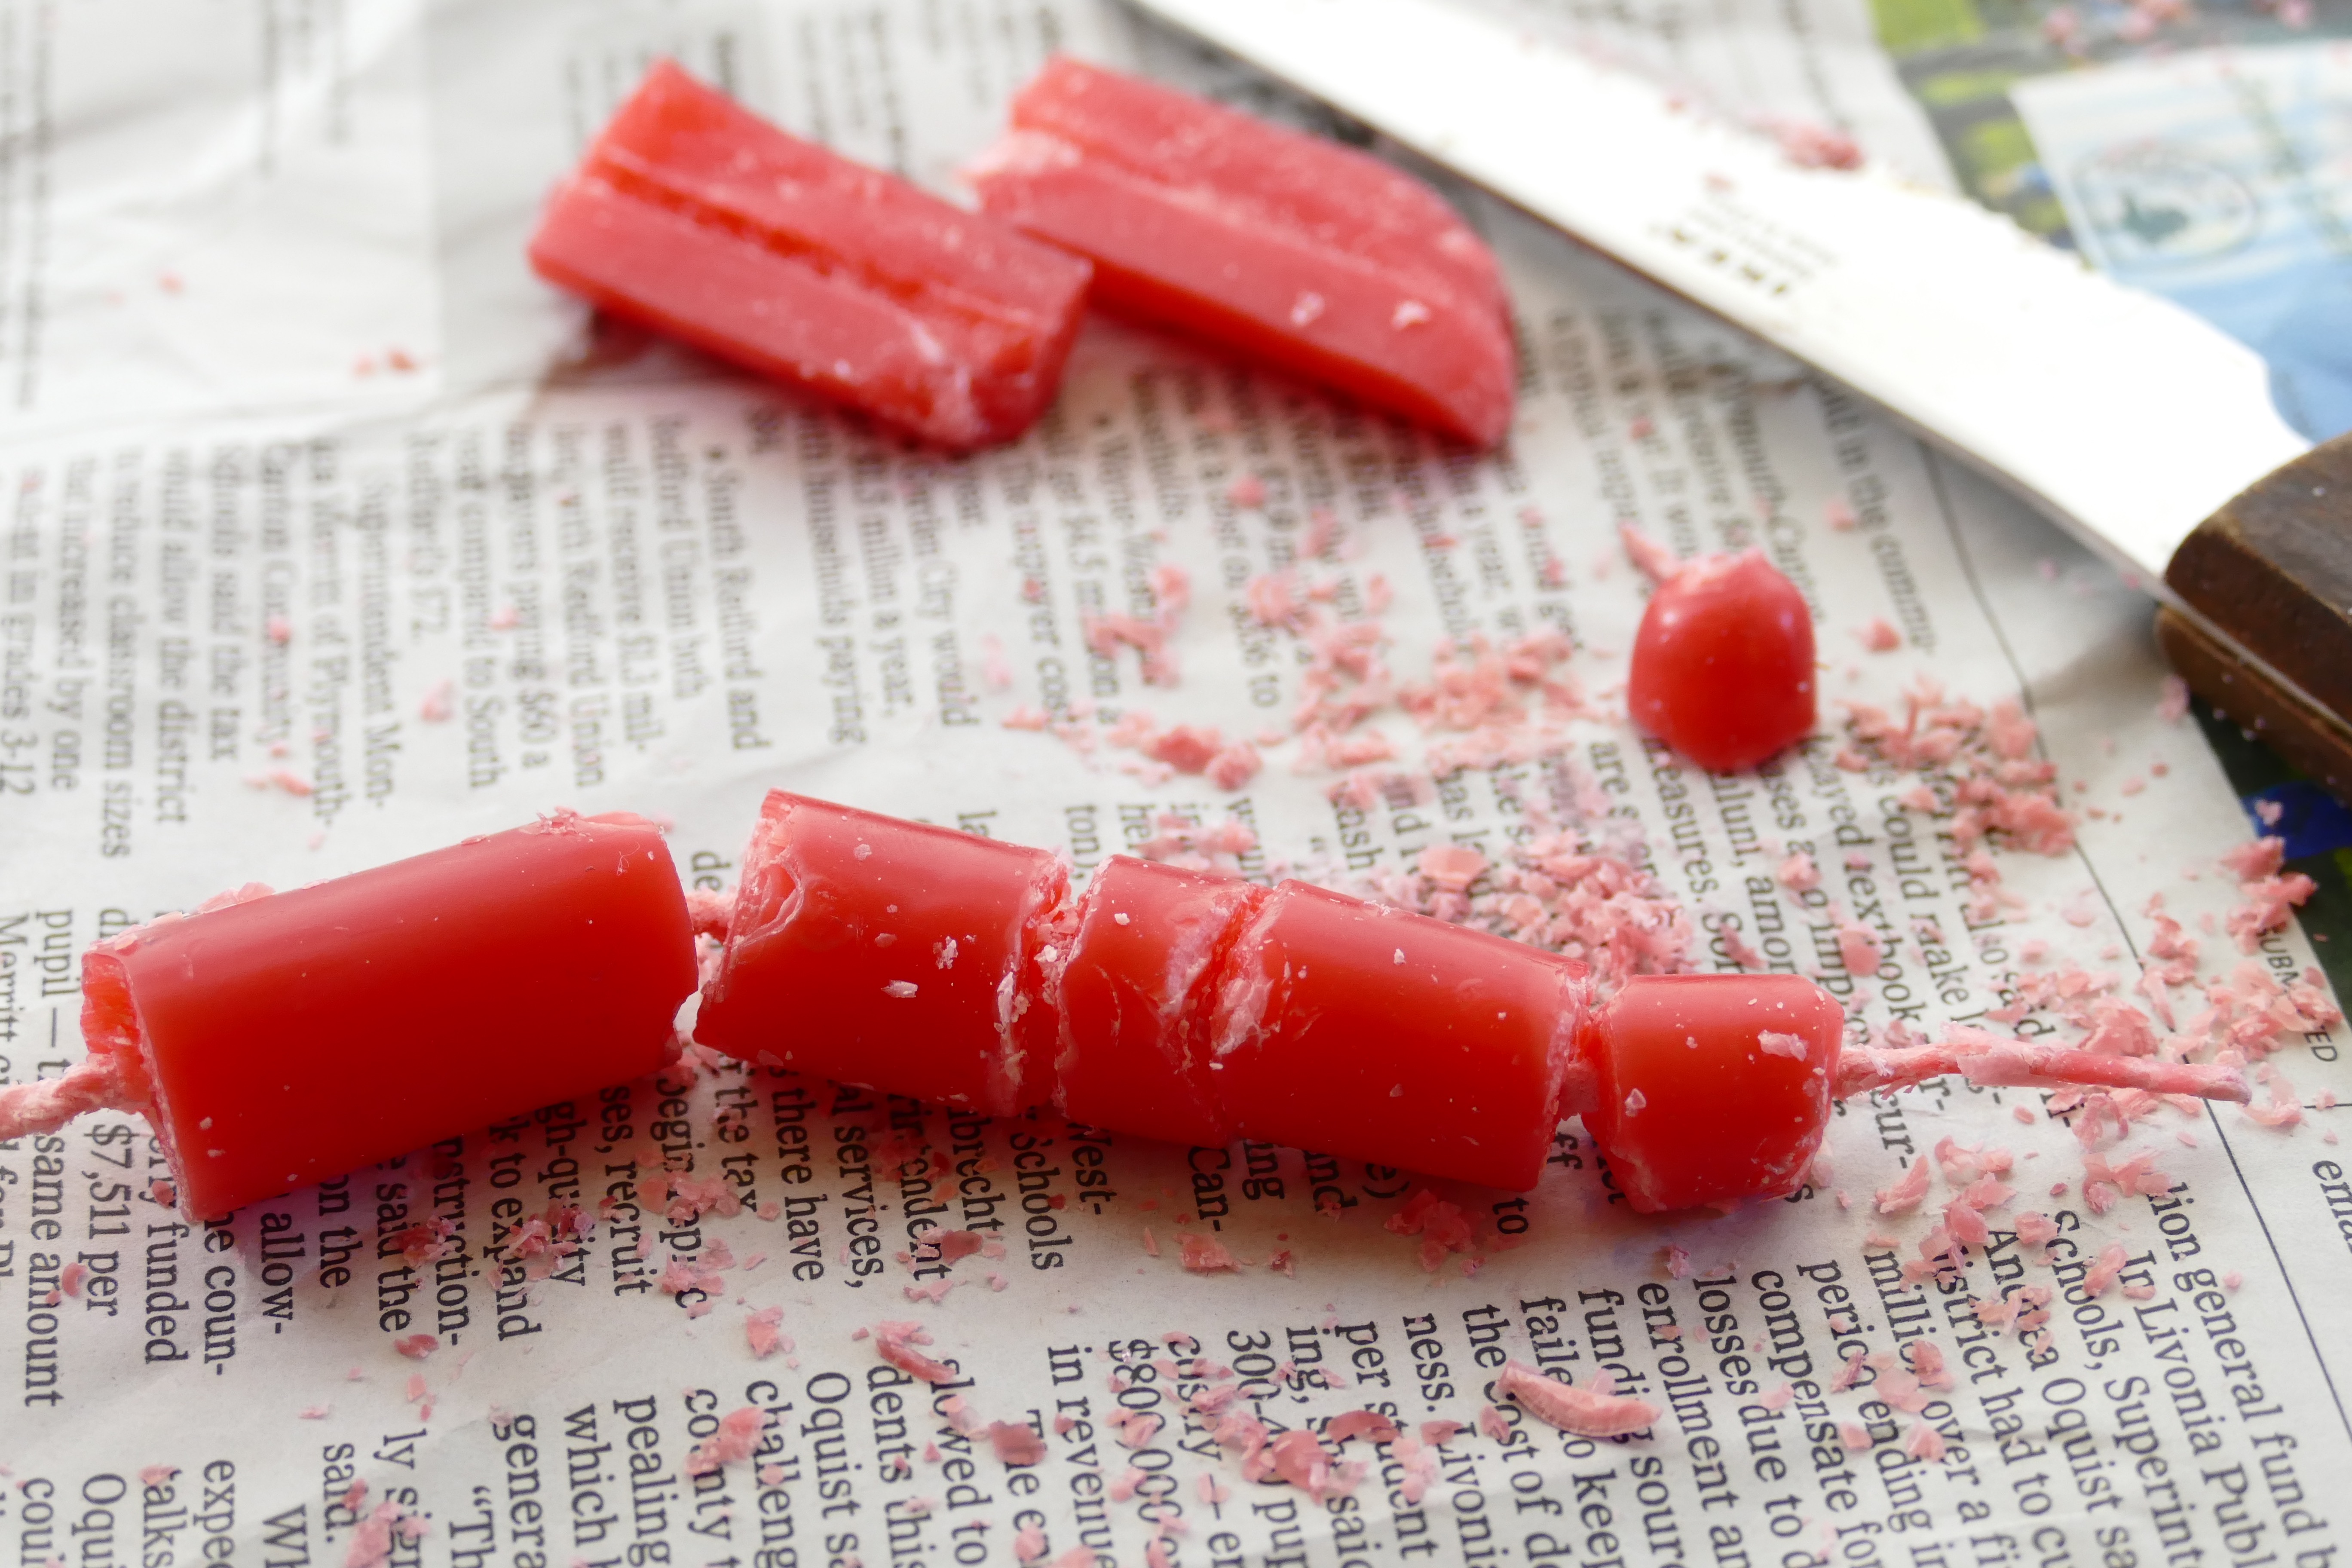
Step 1: Prepare your wax. If you bought wax, I guess you just open the bag! But if you’re re-using old candles, you need to carefully break them into smaller chunks and pull out the wicks. If you have a problem breaking the wax, use a knife to score along one side (don’t cut the wick if you can help it), then break. Alexa and I worked together and made short work of eight old candlesticks! Put the similar color wax in your melting bowl or cup, and set the wicks aside.
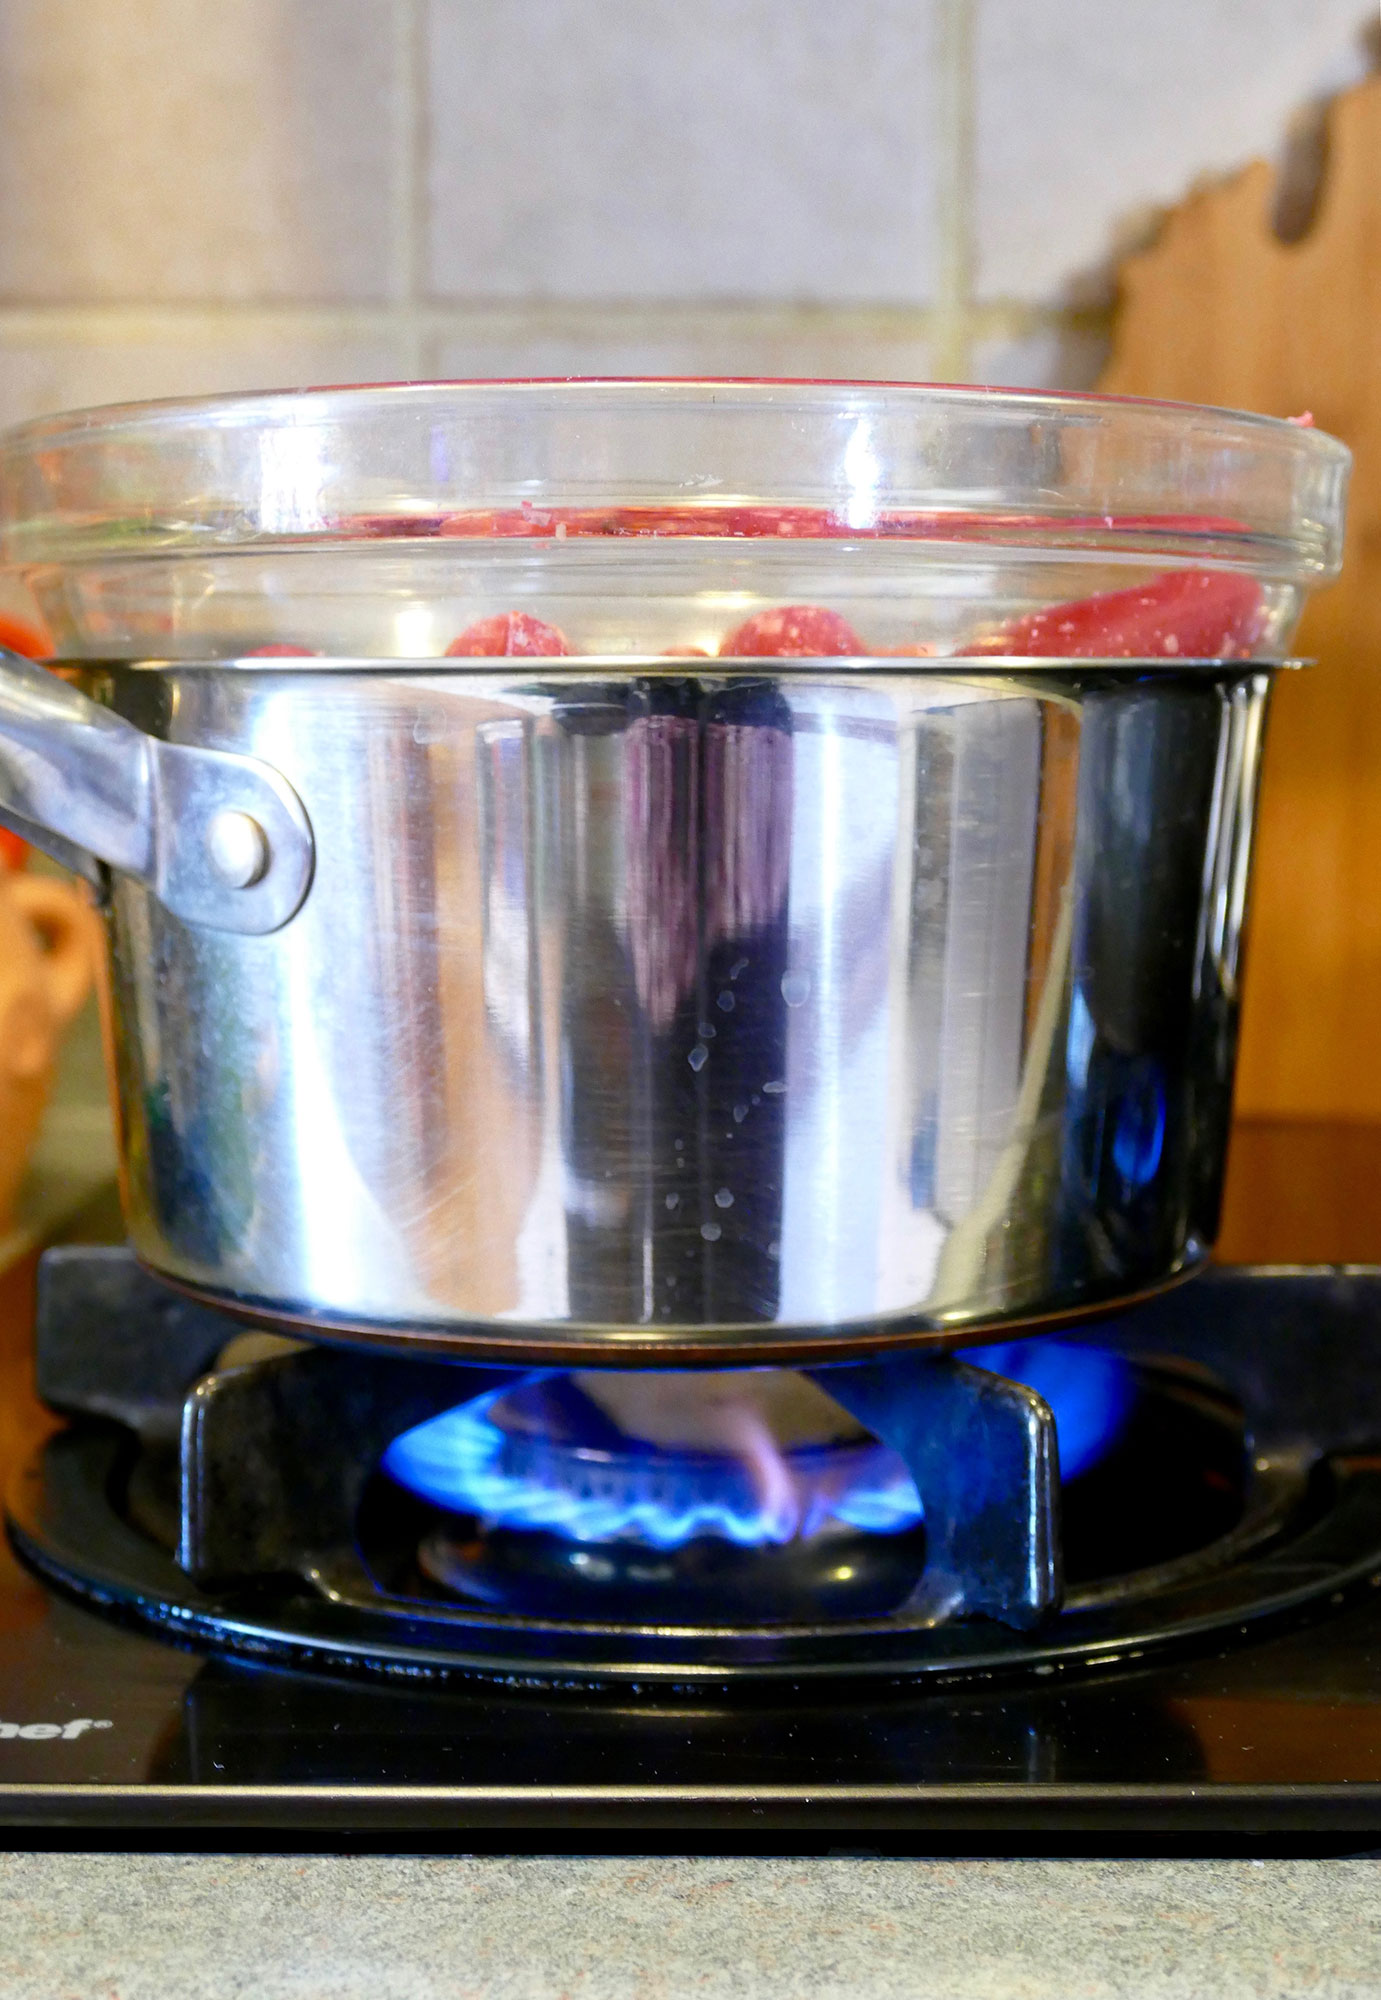
Step 2. Melt your wax. Put water in your double boiler then set your bowl or cup of wax in the boiler. If you recycled old candles and some wicks got stuck, you can always fish them out later. If you purchased new soy wax flakes, stir them frequently. If you plan to dye and/or scent your wax, this is the time to do it! It’s recommended that you wait until your wax is 180°F before you add any scent to avoid it simply disappearing, however (this is why you need a thermometer if your are scenting your wax).
Step 3. Once your wax is melted, pour it carefully into your teacup. I found the bowl was hard to pour from without making a mess, so after I took this photo I poured it into a smaller container and used that to pour into my teacup. Pour the wax into your teacup about 1/2″ from the top.
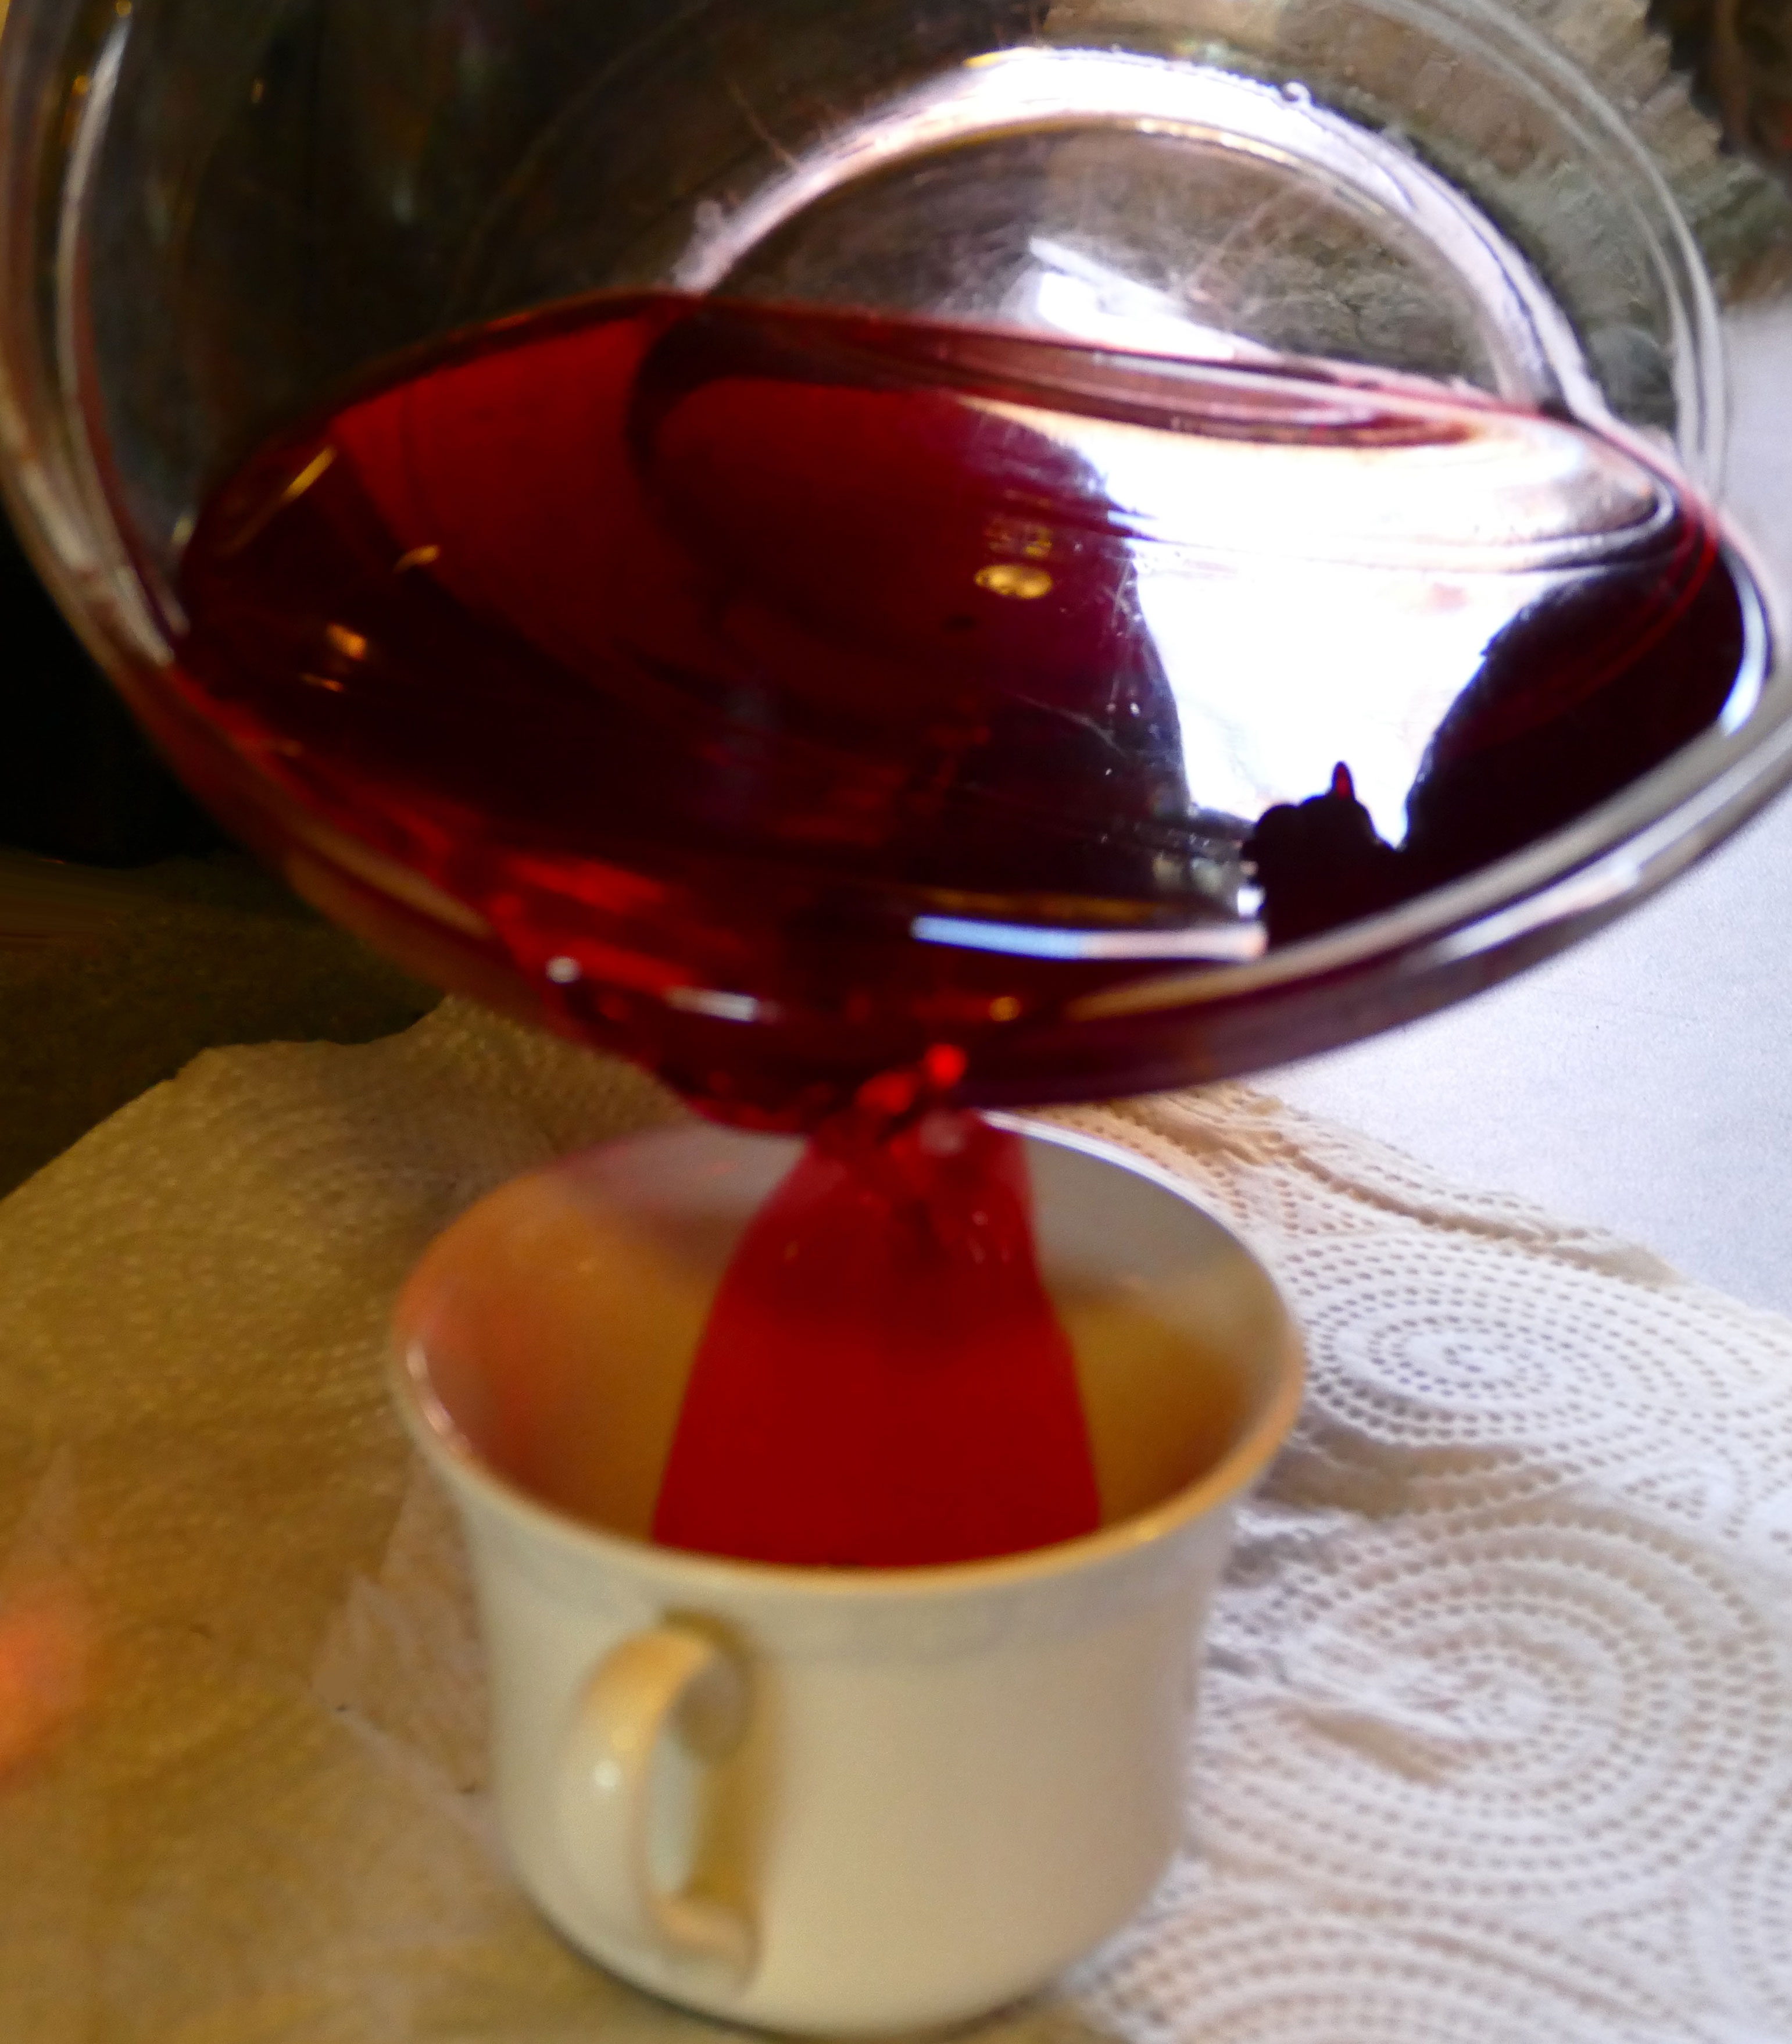
Note: The above photo is a wee blurry — sorry! Alexa took it and she’s still learning to use the big camera. Also note that in the photo my glass bowl is making a red waxy mess. It was a simple matter to scrape this wax off, however, so don’t worry if you make a mess.
Step 4. Immediately after you pour your wax in, place your wick into the teacup. You want the wick to go in straight down — stop when you touch the bottom. Now use your clothespins or kebab sticks to hold it in place while the wax cools and solidifies.


Step 5: Wait 4-6 hours for your wax to cool before you attempt to burn the wick. When cooled, snip off any excess wick (leave about 1″) and you are finished with your homemade DIY teacup candles!
DIY Teacup Candles Tips
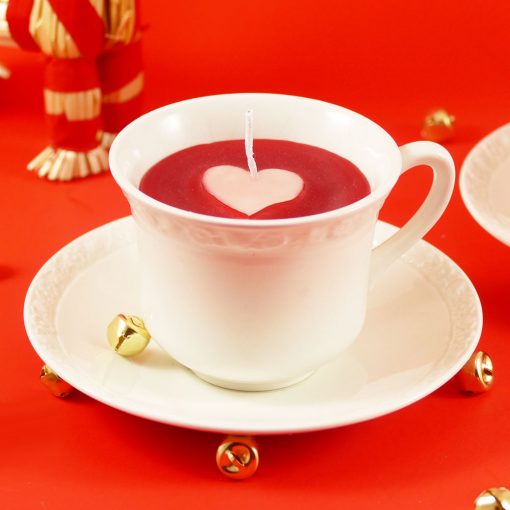
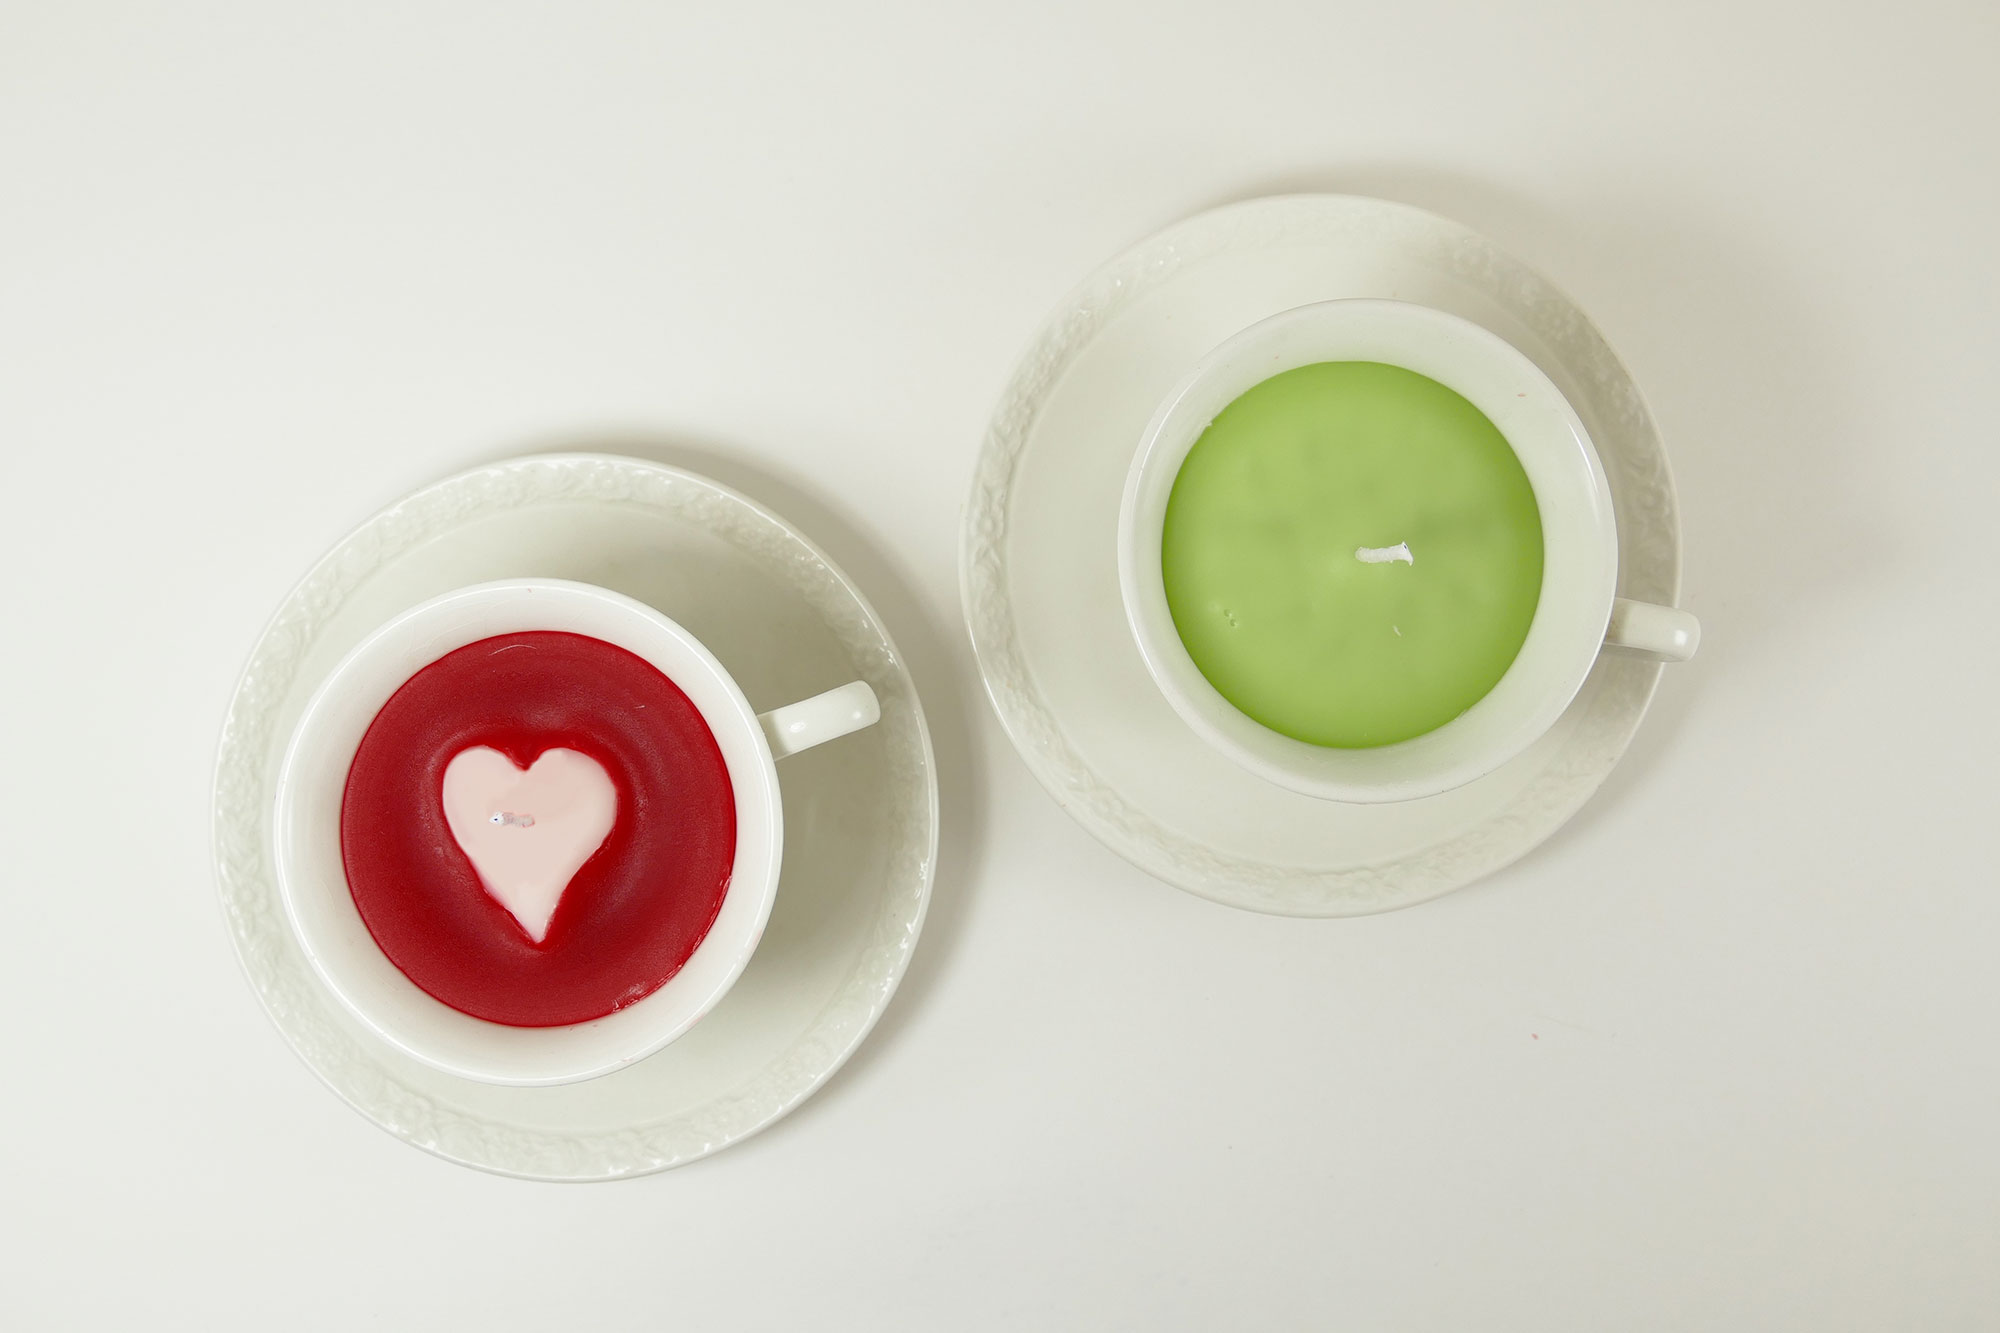
Wondering how I got that cute heart in my DIY teacup candles? I simply waited until the wax was fairly cooled but still malleable (approx. one hour after pouring into the teacup). Then I gently scooped out some wax in the shape of a heart about 1/2″ deep. I waited a little while longer to make sure the wax was cooling nicely (about 1/2 hour to 1 hour), then I poured white wax into the heart-shaped hole. Voila! (I did try to do this with a cookie cutter instead, but it didn’t work well as the wax would melt at the bottom and gradually fill up the hole inside the cookie cutter.)
Feel free to experiment! You could put in some interesting scent, glitter, or even some beads or pearls in your DIY teacup candles!
If you use paraffin wax, you can add chopped or grated crayons for color!
DIY Teacup Candles Notes
Sometimes, depending on your wax, you might get a weird little dip in the center after it cools a bit. If this happens and you don’t like how it looks, just melt more wax and pour a thin layer of wax over the top. This solves that problem! (This happened with one of the four teacup dandles I made today.)
Do not use alcohol or water-based fragrance to scent candles. You need OIL-based fragrance for it to work and smell nice.
Soy wax candles have unusual properties compared to paraffin or beeswax. For example, the wax can sometimes pull away from the sides of the teacup — this happened with my white candles. If this happens, pour another thin layer of wax after the first pour has cooled a bit. This will fill in the sides and give the top a nice, level appearance.
Want to use your glass bowl/measuring cup for something other than candle wax? Immediately wash it! If you don’t wash it right away, it’s really hard to get that wax off later.
You can keep the cup stuck to the saucer by putting a little soft wax on the bottom of your teacup and pressing down firmly on the saucer.
Consider a gold or silver Sharpie to accentuate or personalize your DIY teacup candle to your recipient!
These teacup candles are great for Christmas gifts, but they’d also be fun for Valentine’s Day gifts, Mother’s Day gifts, bridal shower gifts, baby shower gifts, hostess gifts, and housewarming gifts.
Remember, burning candles should always attended. Keep burning candles away from flammable materials, children, and pets.
Christmas Gift-Making Series
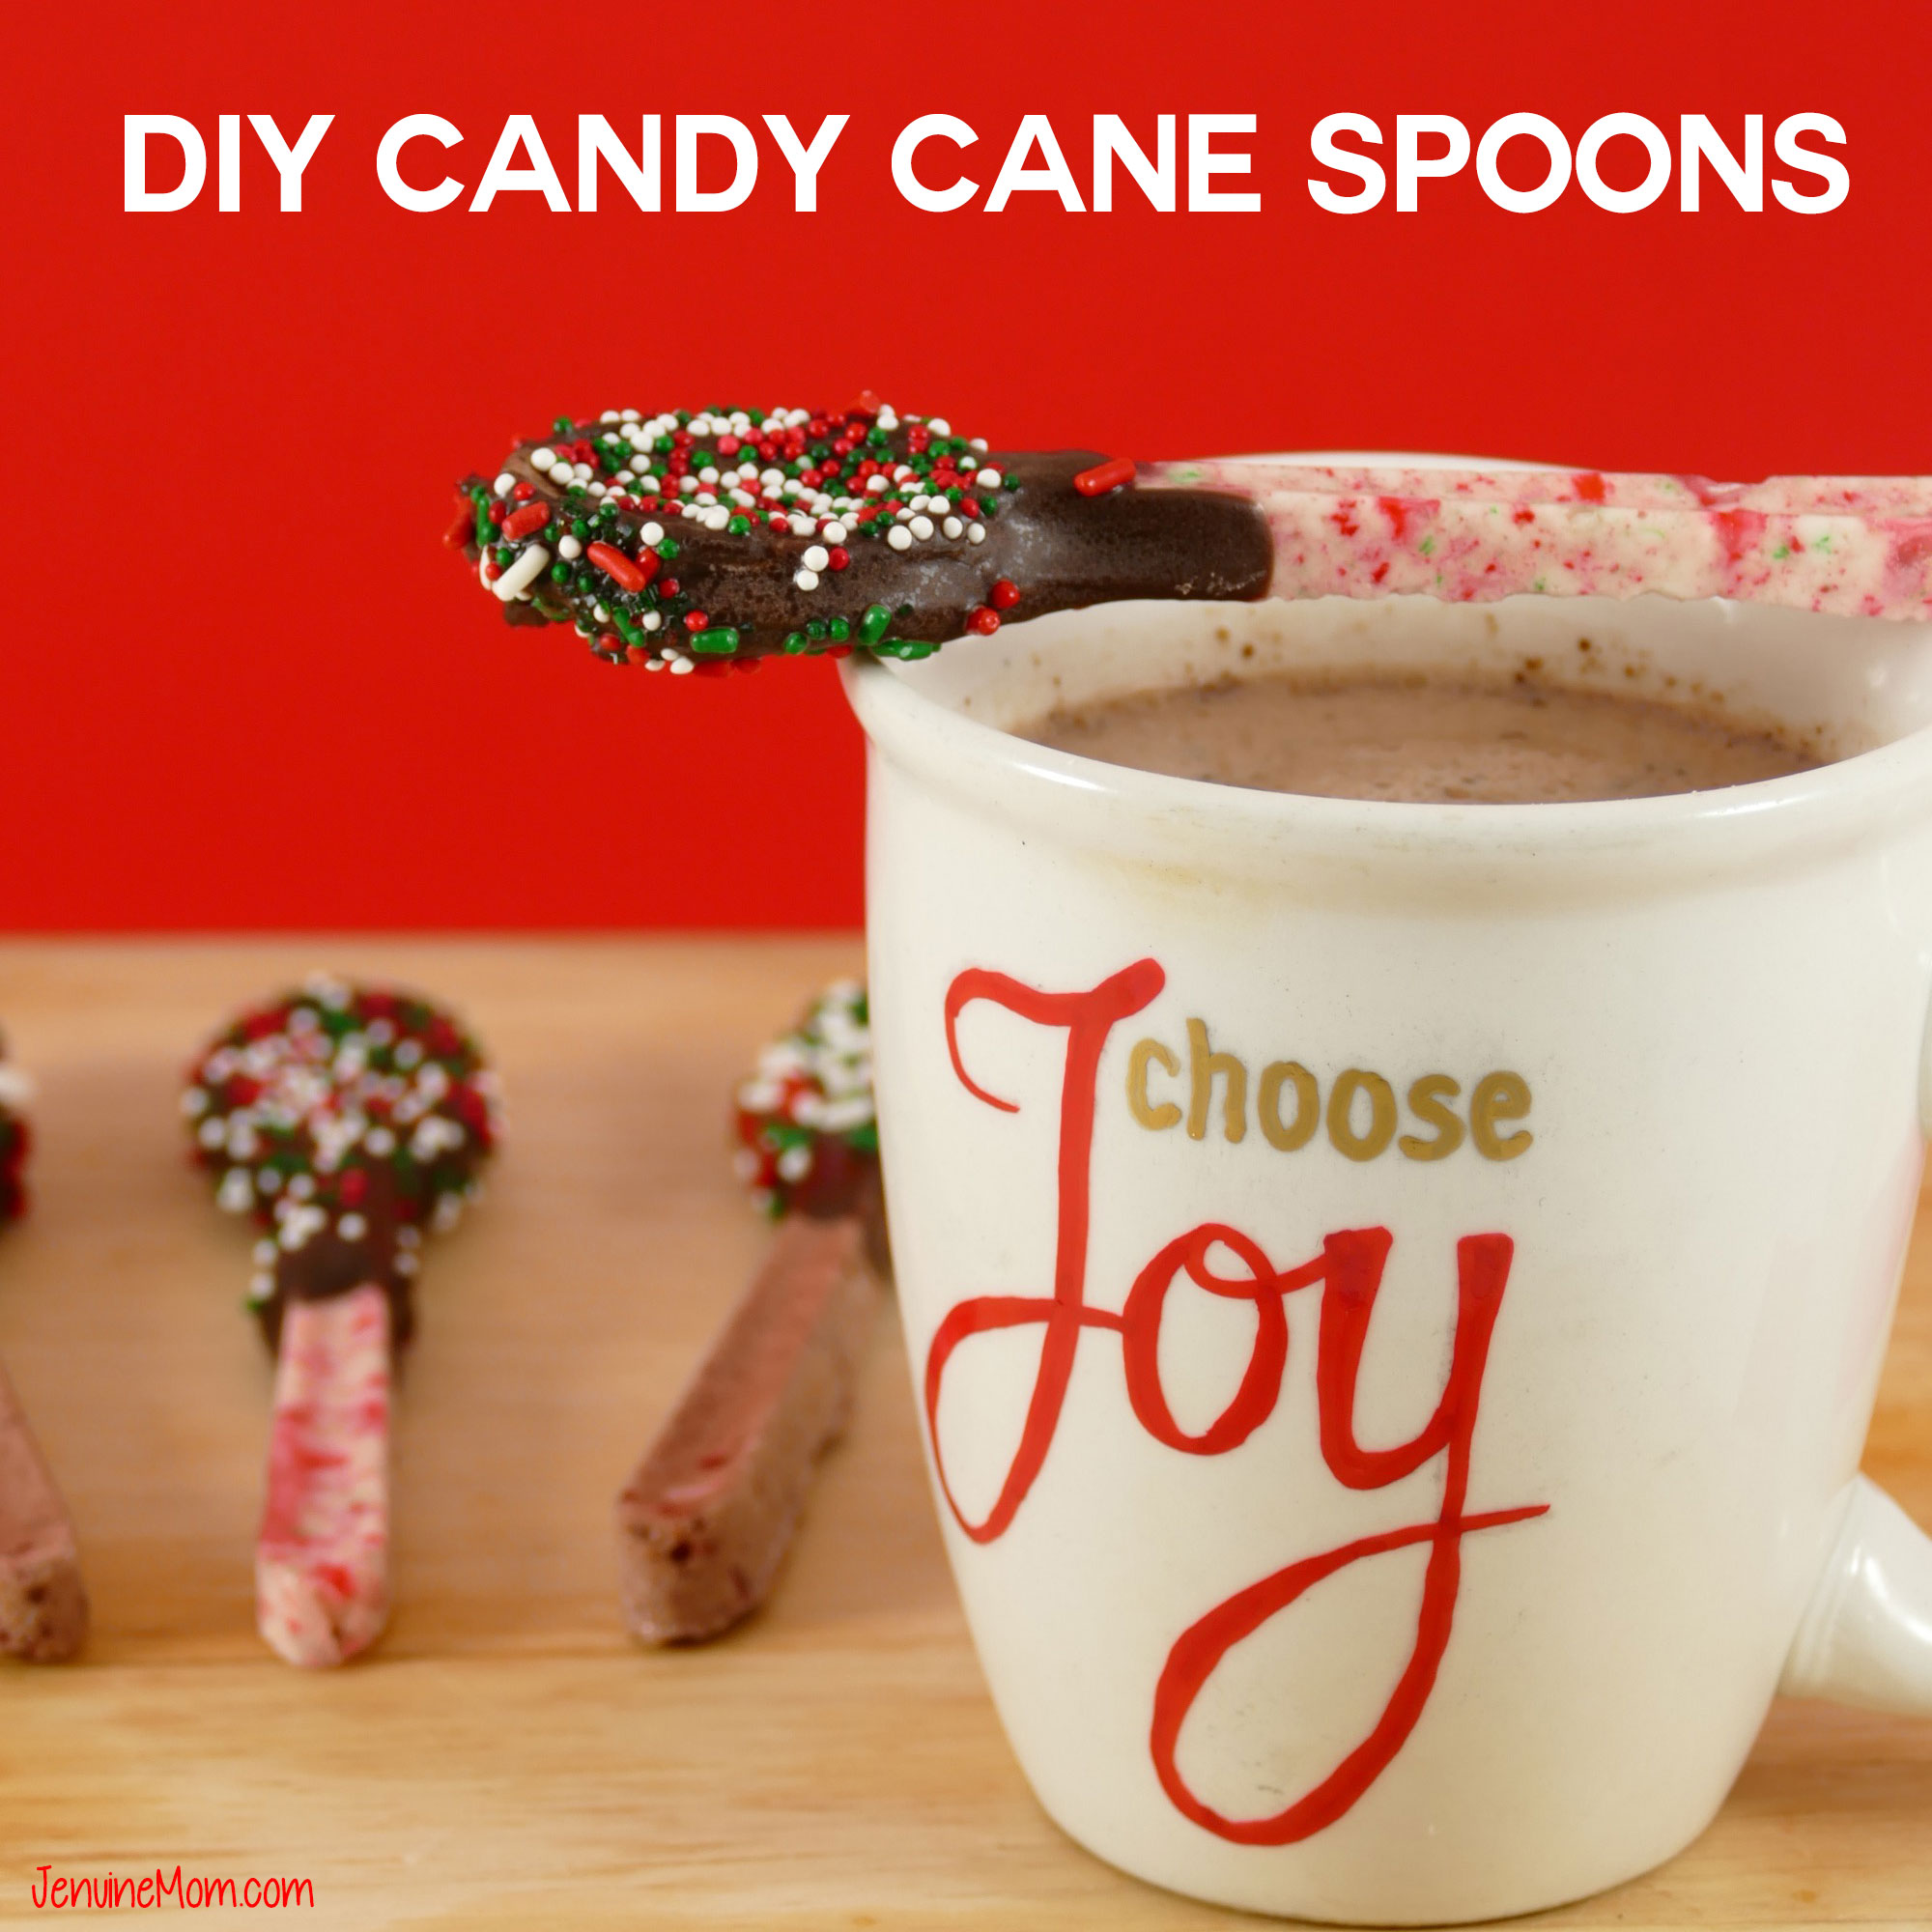
Please watch for more fun tutorials to help you make wonderful homemade and inexpensive gifts this year! I plan tutorials on some of our favorites, such as personalized mugs, DIY candy cane spoons for coffee/hot cocoa, and beeswax ornaments!
Pin this post for later:

Did you make some DIY teacup candles? Please share your experiences with us here!
Love,


Awesome idea! This is so creative. I love the heart! Perfect idea for a DIY Christmas present or even just for decoration!
Thank you so much!!
This is a really great idea! I will have to try this with my sister when we plan and decorate for our Christmas party. Awesome post!
If you try it, let me know how it goes for you please! Always love feedback and new ideas — everyone adds something new to a project.
What a beautiful idea for a Christmas gift, I will definitely be having a go at making some of these x
These are adorable! They’d be perfect for our household—we do lots of tea around here. 😉
I was thinking of doing candles with some whiskey glasses I found, but I think I like this better. Thanks for sharing!
These are adorable! I never would have through to use teacups and candles to make new candles. I wish I was this crafty!! Great idea.
This is such a clever idea to create a handmade personalized gift. I love DIY gifts. They always come from the heart!
I don’t know why I have never thought of this before! What a great idea for the ladies I know. Pinning this!
Love this! These are so cute and easy, I’m definitely going to have to try this. I always have to have candles when decorating so this is just perfect.
Candles really make a room feel homey! Thank you for the kind words. 🙂
Well how cute is this?! I absolutely love the heart decoration too! Going to pin this for later- thanks!
Thanks so much!!
These are great, Jennifer, and I am needing a fun Christmas project to give to special people this year. Thanks much!
My pleasure! I think candles make a great gift.
I love this idea!! So cute! We’ve been blogging about Handmade Christmas, so if it’s okay with you I’d love to share this on our Facebook page because it goes along with it so well! Can’t wait to give this a try! 🙂
Glad to hear you like it! Please do share! And let me know if you try it. 🙂
I have made homemade candles a number of times, but I love the idea of making them in tea cups and a nice and sweet “double gift.”
Indeed! When the candle is all gone, the teacup can be cleaned and used!
I love this concept!! They look professionally done!
Jenna from http://www.visionsofvogue.com
Thanks, and it’s really not hard to do!
I just love this!! So adorable and I just can’t resist an upcycle!!!!
These are so cute! What an awesome idea for gift bags or house warming gifts.
I just love DIY Gifts. Making candles has been on my list for a while too.
You make this sound so simple. I might have to try this.
These are so awesome. I’ll make sure to show this to my girlfriend, she loves anything DIY.
Thank you! Hope she likes the idea!
This is such a fun idea – I love DIY crafts!
Oh my goodness, these are so cute! Perfect for gift giving ♥ thank you for posting this
HOW fun is that! I love them. OHH I love to make little handmade gifts for our teachers (along w/whatever the kids want to purchase) I think I will try this out this year! Thanks for sharing!
This is such a cute idea! Perfect for the holidays 🙂
http://www.diaryofatorontogirl.com
Wow!! This is super creative! 🙂
I love it! Thanks for sharing.
Thank you, Latasha!
Really amazing! I love you idea a lot.
Awesome idea! I love the heart shaped cup candle. That one is so creative and thanks for sharing !
Simply cute. Nice options to use your handle broken tea cups also I guess. Saved your pin. Make more and upload. Happy crafting